
SEABLAZE QUATTRO INSTALLATION GUIDE


STEP 1 - GET STARTED

What is in the box?
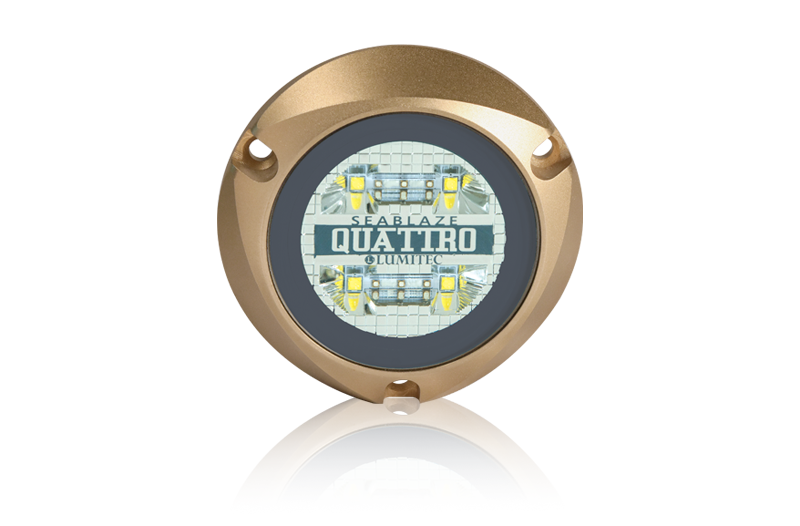
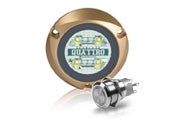
1 - Quattro Light with 5 ft of 18 AWG Wire (18 AWG for Orange Signal Wire)
3 - Silicon Bronze Screws (#10 1.5")
1 - Rubber Strain Relief
1 - Instruction Sheet
If you are missing or misplaced a part, please contact our support team to assist. DO NOT return the product to the store.

What do I need?
- Marine grade sealant (3M 4200 or equivalent)
- Power driver/drill
- Waterproof Butt Splice connectors
- Heat Gun for shrinking waterproof butt splice connectors
- Fuse per light (7.5A @12vDC or 5A @24vDC)
- Wire strippers
- Crimp Tool for butt splice connectors
- Additional Wire (see chart here)
- Multimeter for testing (optional)
- 1A SPST switch (not included) for 3-Wire to switch
- 7.5A Min SPST switch (not included) for 2-Wire to switch for 1 12vDC light (15A for 2 lights @12vDC)
- Lumitec Poco Digital Lighting Control (optional)
STEP 2 - IMPORTANT INFORMATION
Transom Mount Lights
Underwater light placement can be subjective and vary depending on the style of the boat and the owner's personal preferences. This section will provide some guidance on best practices and our recommendations.
- It is best to place a light 6"-12" (150 mm-300 mm) below the waterline.
- Place lights at intervals of 1 ft (0.3m) to 3 ft (0.9m).
- For outboard motors, place lights between motors (see diagram).
- The mounting hole size is 0.5"
- Do not use power tools to tighten the "bronze" screws
- Light placement on running surfaces is not recommended

STEP 3 - CONFIGURATION
Select the installation configuration you will be using for your light.
TROUBLESHOOTING
| Problem | Cause | Solution |
|---|---|---|
| Problem: Light Does not power on (2-Wire to Switch). | Cause: Red and Orange wire are not receiving + voltage. Ground wire disconnected. | Solution: Check power. Check fuse is not blown. Check ground wire connection. Check the switch and ensure it is rated for the load. Check voltage polarity. |
| Problem: Light Quickly Blinks. | Cause: Insufficient voltage or current at light. | Solution: Check for proper voltage at light (10vDC minimum required). Ensure the battery is at full charge. Verify wire gauge size is sufficient for no more than a 3% voltage drop. |